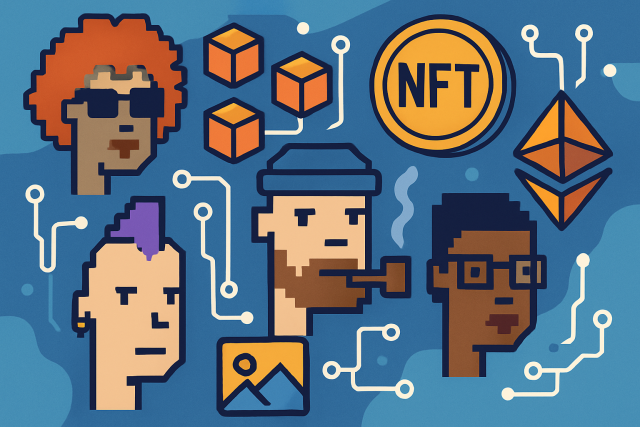
How to Mint NFTs on Ethereum Explained for Beginners

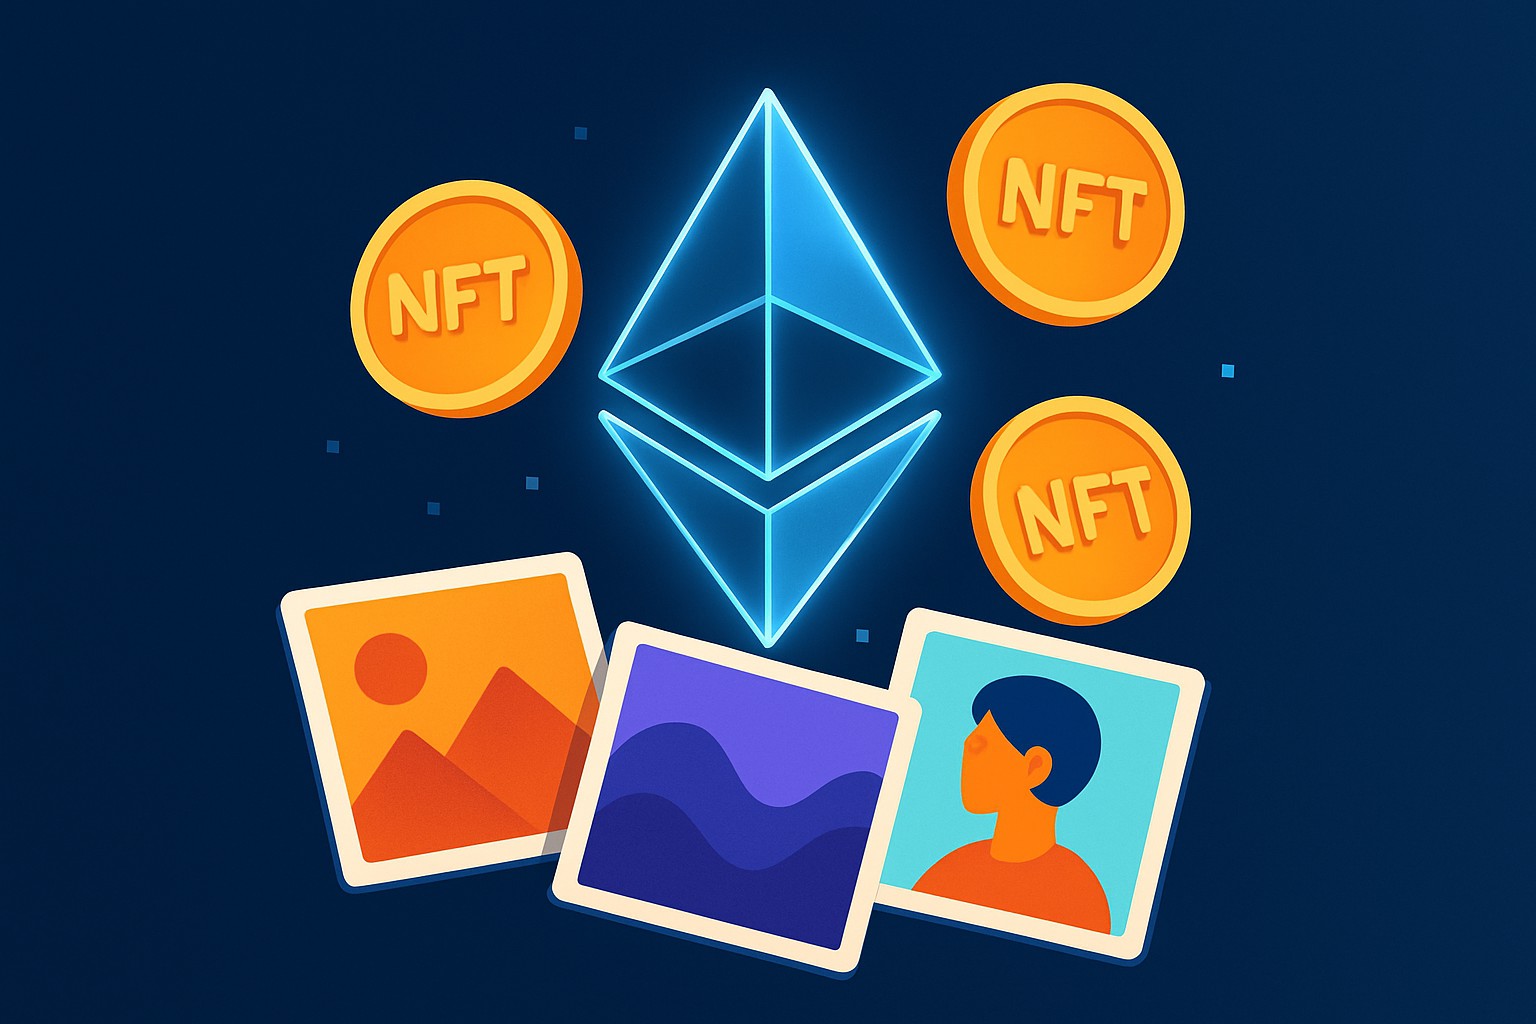
NFTs or non-fungible tokens have taken off in a big way as a unique way to own and trade digital assets, leading many to wonder how to mint NFTs themselves. Ethereum continues to hold the crown as the primary blockchain platform behind most NFT creation and trading because of its robust smart contract capabilities.
Minting an NFT is basically like giving birth to a one-of-a-kind digital token connected to your artwork, music or collectibles, all safely recorded on the Ethereum blockchain.
What You’ll Want to Have Stocked Up Before Minting an NFT on Ethereum
- A secure Ethereum wallet to safely stash your NFTs and cryptocurrency—think of it as your digital piggy bank.
- Enough ETH (Ethereum) jingling in your wallet to cover minting and gas fees without breaking a sweat.
- Digital artwork or content you’re eager to transform into an NFT and share with the world.
- A basic understanding of how NFT marketplaces tick, so you can confidently list and sell your creation without feeling lost.
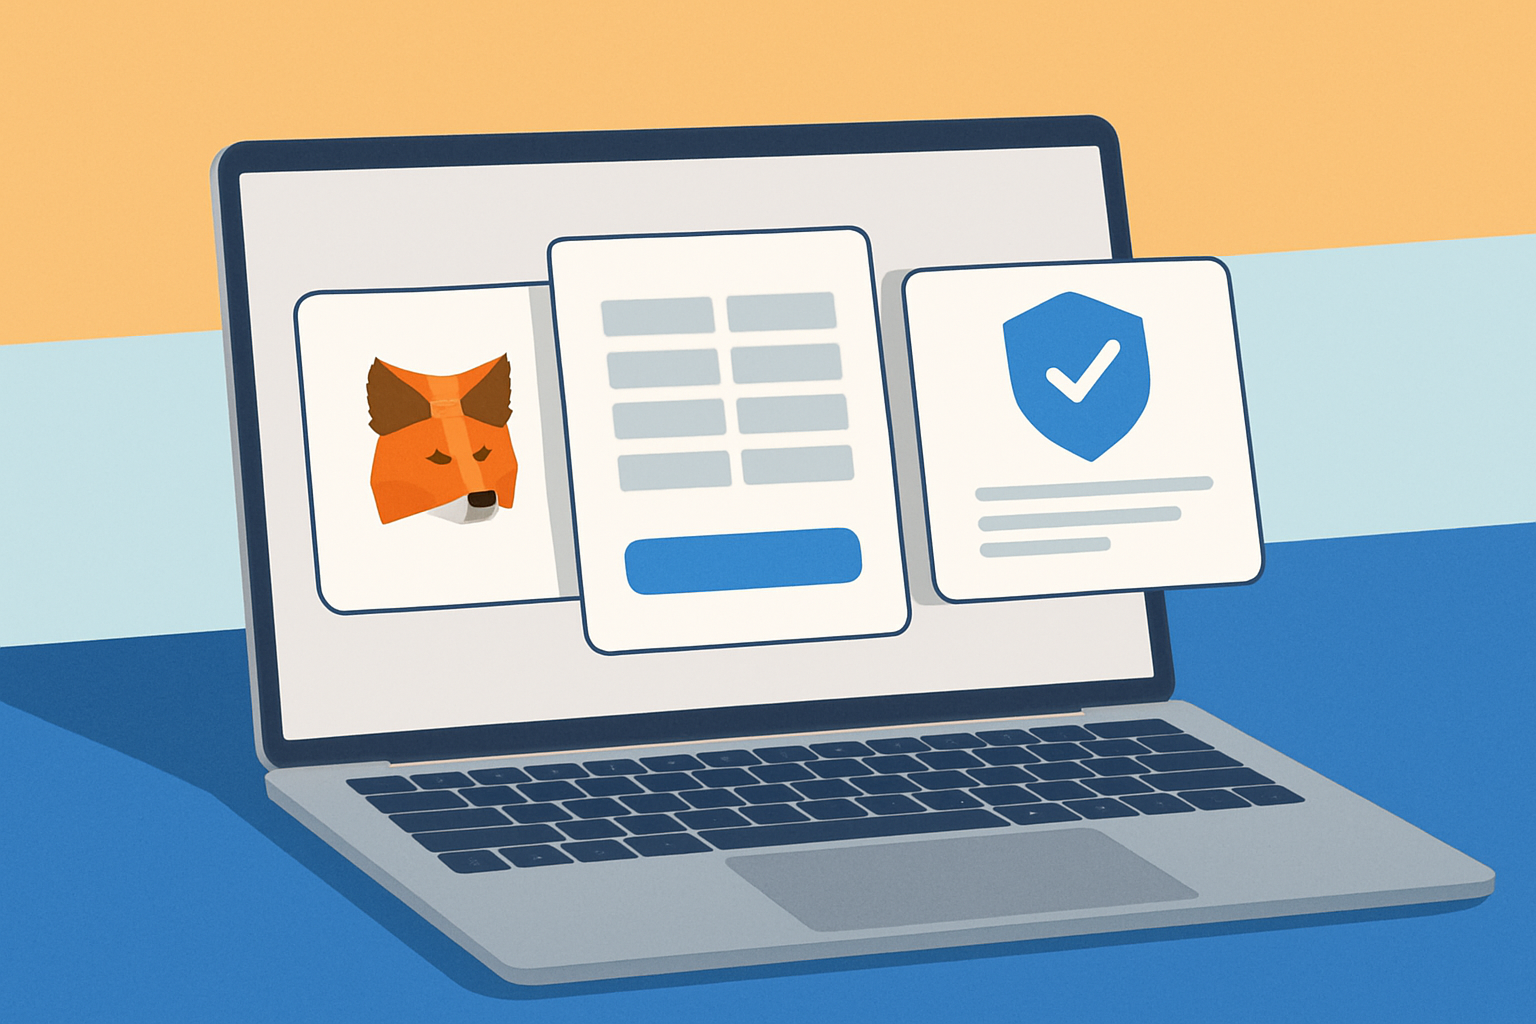
Well-known Ethereum wallets like MetaMask come with straightforward interfaces that make handling your NFTs and ETH feel like a breeze. It’s absolutely vital to back up your wallet's seed phrase securely offline. Losing it is like misplacing the keys to the kingdom because these wallets are non-custodial and you’re the boss of your own assets.
Step 1 How to Get Your Ethereum Wallet Up and Running
Kick things off by downloading and installing MetaMask or any other Ethereum wallet app that works well with the system. Just make sure you grab it from official sources to keep things tidy.
Follow the on-screen prompts to set up a new wallet. It is worth taking a moment here to pick a strong password that won’t give you nightmares later.
Jot down your seed phrase carefully and stash it offline in a few safe spots. You don’t want to be scrambling for this when the time comes.
Connect your wallet to the Ethereum mainnet, then add some ETH by transferring from an exchange or another wallet. It’s easy once you’ve done the groundwork.
Step 2 Pick an NFT Marketplace where you will be shopping for your digital treasures
Ethereum hosts a few popular NFT marketplaces that each bring one-of-a-kind combination of features, fees and user vibes. OpenSea is the biggest player and one of the easiest to understand. It is a solid choice whether you’re just dipping your toes in or already a seasoned creator. Rarible offers flexible minting options and decentralized governance that give you more say in how things run. Then there’s Mintable which keeps things straightforward and even offers some gas-free minting options to sweeten the deal.
| Marketplace Name | User-Friendly Features | Fees | Minting Options | Popularity |
|---|---|---|---|---|
| OpenSea | A straightforward interface paired with a bustling, lively community you can really get lost in | 2.5% sales fee plus gas for minting, so keep an eye on those transaction costs | Offers both traditional and lazy minting options, giving you a bit of flexibility on how you start | Easily the crowd favorite |
| Rarible | Packed with decentralized governance and a solid system for creator royalties, putting power in artists’ hands | 2.5% sales fee | Supports custom attributes and auctions, perfect if you like to mix things up | Definitely making waves with popularity |
| Mintable | Great for newbies who want to mint without worrying about gas fees, a real lifesaver for those starting out | 5% sales fee but with gas-free minting, which is a nice trade-off | Provides gasless minting options, making the whole process breeze through | Catching on fast |
Step 3 Getting Your Digital File Ready for Minting
Alright, this is where the magic starts to happen. Getting your digital file all spruced up and ready for minting might sound straightforward, but there’s a bit of an art to it. Think of it like prepping a dish before serving—presentation is everything, and the smallest tweak can make a world of difference.
- Make sure your artwork or digital content is saved in a supported format like JPEG, PNG or GIF for images or MP4 for videos—these are common formats that work well with most platforms.
- Try to keep your file size within the recommended range, typically under 100MB. This helps avoid upload issues and unexpected costs.
- Focus on optimizing quality so your NFT looks fantastic and really stands out because first impressions matter.
- Add detailed and precise metadata such as a catchy title, a clear description and specific properties. This information stays with your NFT on the blockchain so it is worth taking the time to get it right.
Step 4 How to Mint Your NFT: A Clear Step-by-Step Guide on How to Mint NFTs That Even Beginners Can Follow
Log in to your go-to NFT marketplace and hook up your Ethereum wallet—easy as pie.
Hunt down the "Create" or "Mint" button and upload the digital masterpiece you have been eager to share.
Fill in the nitty-gritty: your NFT’s title and a catchy description, and don’t forget to set the royalty percentage so you get a little love on future sales.
Tweak blockchain or listing settings like how many editions you want or the kind of auction you prefer if those options are available.
Seal the deal by confirming the minting transaction in your wallet and settling the gas fee. Once the network gives you the thumbs-up, your shiny new NFT will show up in both your profile and wallet.
Gas fees on Ethereum are the charges paid to miners who confirm transactions on the blockchain. These fees fluctuate quite a bit depending on how jam-packed the network gets, so minting costs tend to spike when everyone's trying to jump in at once. If you are looking to save a few bucks, it usually pays off to mint during the calmer periods when gas prices take a little breather.
Helpful Tips and Best Practices for Minting NFTs on Ethereum (That Actually Make Your Life Easier)
- Take a good, careful look at the metadata and double-check that you actually have full rights to the digital asset before hitting that mint button.
- Keep your wallet under lock and key by using strong encryption and remember to turn on two-factor authentication because it acts like a safety net you really want in place.
- Try to mint when Ethereum gas fees are lower because this timing trick can save you a nice chunk of change.
- Set your royalty rates thoughtfully, aiming for a sweet spot that motivates secondary sales without scaring off potential buyers.
- Don’t be shy about sharing your shiny new NFT on social media and in relevant communities since a bit of buzz can seriously increase your chances of making a sale.
When learning how to mint NFTs, a lot of beginners dive headfirst into the process without taking a moment to double-check ownership or thoughtfully set their royalties, which can easily lead to lost income or even legal headaches down the road. Some also tend to overlook gas fees or forget to back up their wallets—classic rookie moves that put their NFTs or hard-earned funds in jeopardy.